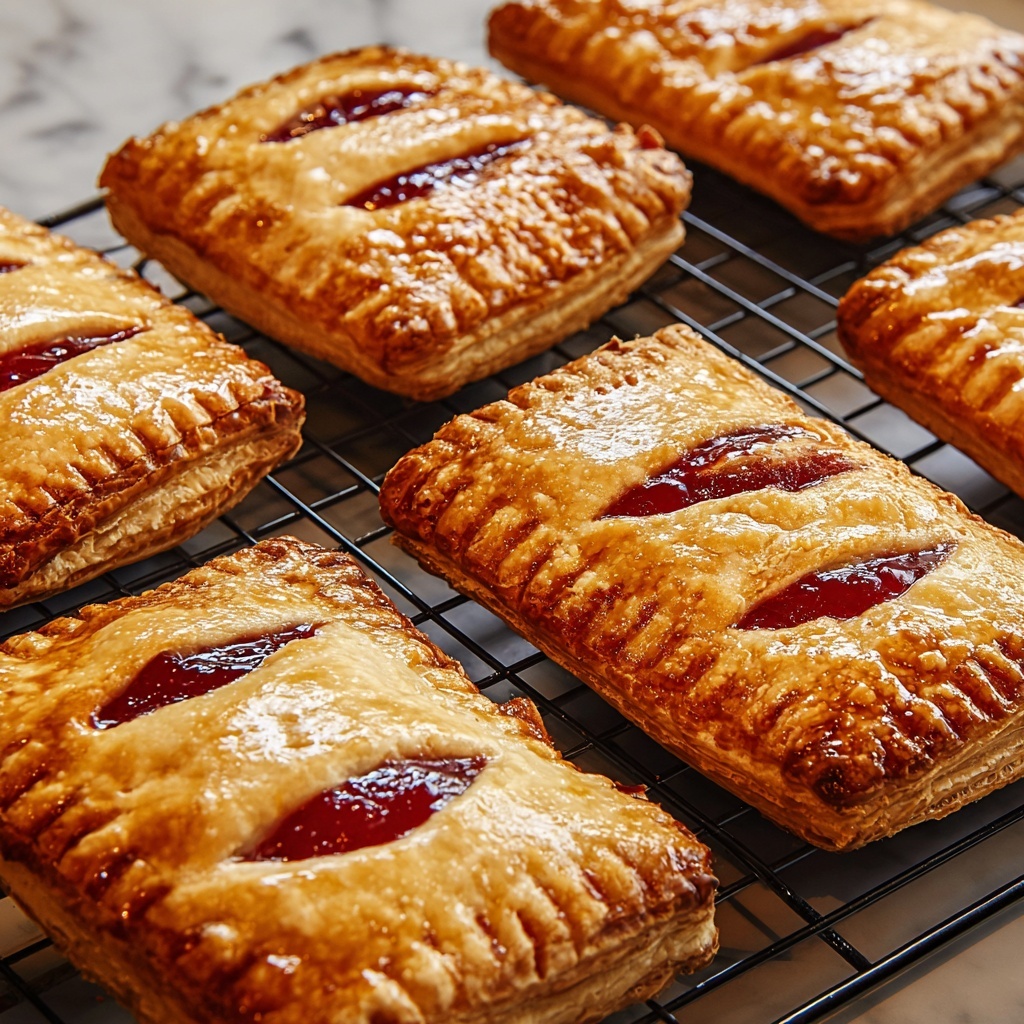
If you’ve ever dreamed of a perfectly portable dessert bursting with sweet cherry filling tucked inside flaky, golden crust, then this Cherry Hand Pies Recipe is ready to become your new favorite treat. These little parcels of joy are delightfully simple to make yet incredibly satisfying to eat, offering all the warmth of a homemade pie with none of the fuss of slicing and serving. Whether you want a cozy dessert to share or a charming snack to impress friends, these cherry hand pies deliver on flavor, texture, and that nostalgic homemade feeling every time.
Ingredients You’ll Need
Gathering the right ingredients is the first step toward these charming Cherry Hand Pies Recipe treats. Each component has a role in balancing sweetness, creating flaky crust, or adding a hint of sophistication to the classic pie flavor.
- Refrigerated pie crusts (2 crusts): These provide an easy and buttery base for flaky, golden hand pies without extra prep time.
- Cherry pie filling (1 ½ cups): The star of the show, supplying sweet, juicy cherries with a luscious, thick texture perfect for filling.
- Egg (beaten, for egg wash): Brushed on top to ensure a shiny, golden finish and help the sugar stick beautifully.
- Water (1 tablespoon): Mixed with the egg wash for smooth and easy brushing.
- Granulated sugar (2 tablespoons for topping): Adds a delicate crunch and sparkle to the crust once baked.
- Optional almond extract (½ teaspoon): Enhances the cherry flavor with a subtle nutty aroma, reminiscent of bakery-style fruit pies.
- Powdered sugar glaze (optional): A sweet drizzle that adds elegance and extra sweetness for presentation and taste.
How to Make Cherry Hand Pies Recipe
Step 1: Preheat and Prepare Your Workspace
Start by heating your oven to 375°F and lining a baking sheet with parchment paper. This ensures your hand pies bake evenly and don’t stick, setting the stage for perfectly golden results.
Step 2: Roll and Cut the Pie Crusts
On a lightly floured surface, gently roll out the refrigerated pie crusts to smooth and slightly thin them. Then use a round cutter around 4 inches wide or cut squares to make 8 to 10 even pieces. This step sets the size that makes each hand pie just right for snacking or sharing.
Step 3: Fill the Pies Carefully
Place about 1 to 2 tablespoons of cherry filling onto the center of half your pastry pieces. Be mindful not to overfill—too much filling can cause leaks during baking. If you love that hint of almond, mix the extract into the filling just before spooning it on for an aromatic lift.
Step 4: Seal and Vent
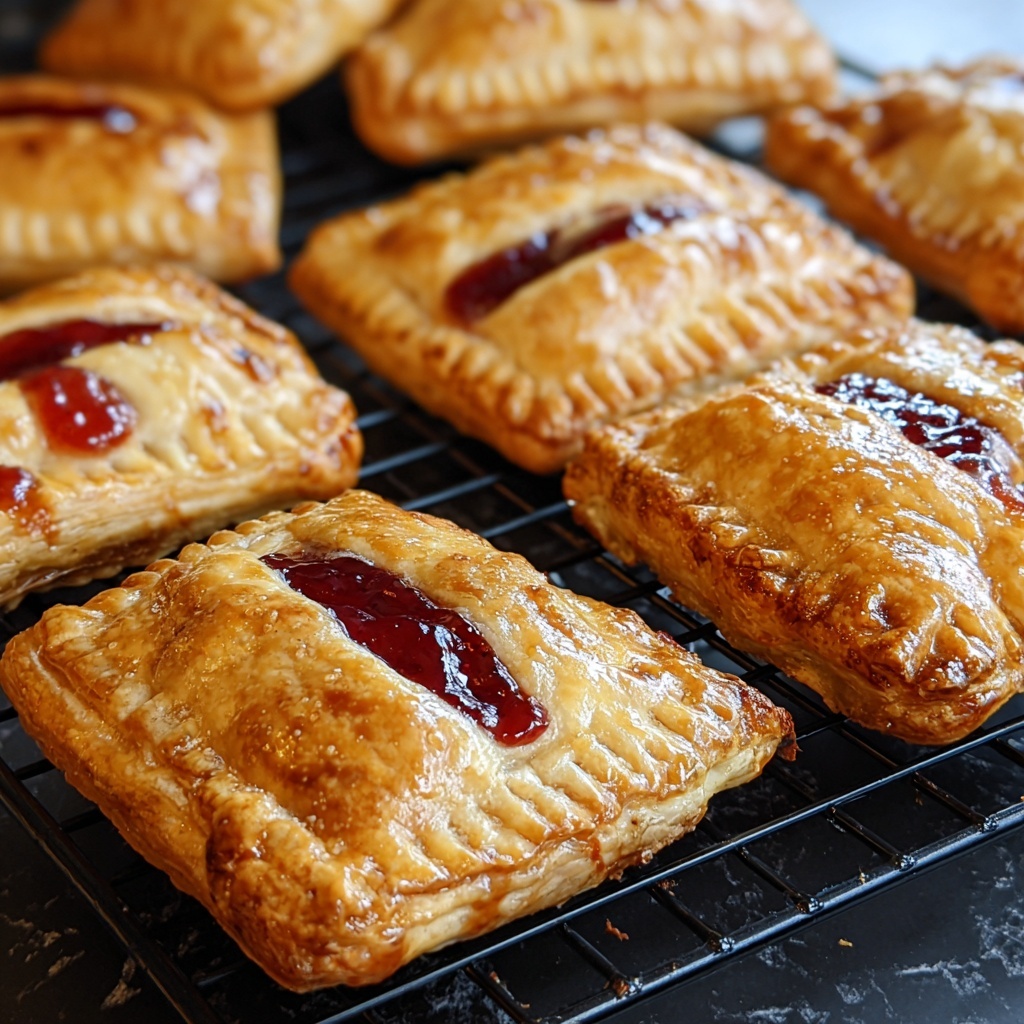
Top each filled piece with a second pastry piece and firmly press the edges together using a fork to create a tight seal. Cut a few small slits in the top layer to let steam escape, helping your pies bake beautifully without bursting.
Step 5: Apply Egg Wash and Sugar
Whisk together the beaten egg and water to create an egg wash, then brush it generously over each hand pie. Sprinkle a light dusting of granulated sugar on top for that irresistible sparkle and crunch once baked.
Step 6: Bake and Cool
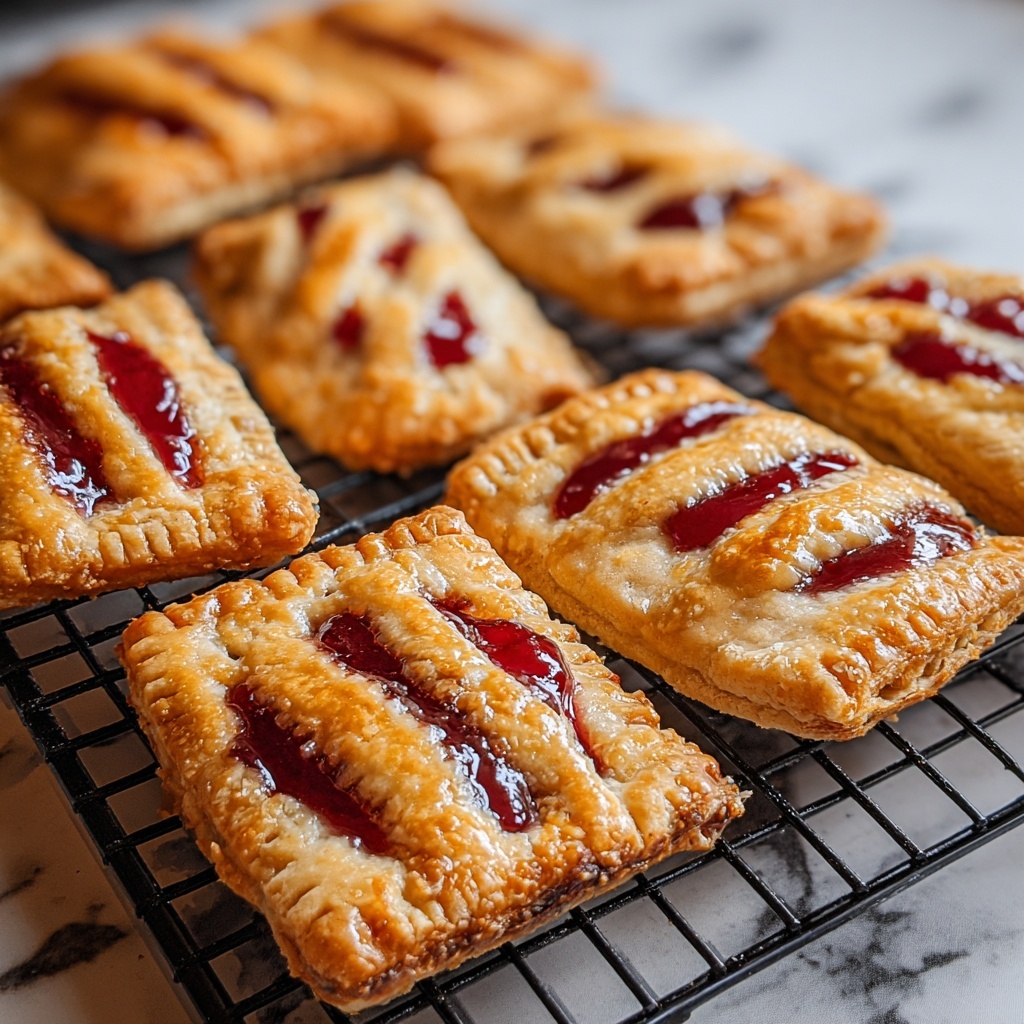
Pop your tray into the oven and bake for 20 to 25 minutes until the crust is a gorgeous golden brown and the cherry filling is bubbly and inviting. After baking, allow the pies to cool slightly to set before moving on to optional glazing or serving.
Step 7: Optional Glazing
If you want to take these Cherry Hand Pies Recipe delights a step further, mix ½ cup powdered sugar with 1 to 2 teaspoons of milk to create a smooth glaze. Drizzle over the cooled pies for a glossy finish and an extra touch of sweetness.
How to Serve Cherry Hand Pies Recipe
Garnishes
To elevate the presentation and flavor, try dusting your hand pies with a little powdered sugar or serve alongside a dollop of whipped cream or a scoop of vanilla ice cream. Fresh mint leaves can also add a pop of color and refreshing aroma.
Side Dishes
Cherry hand pies pair wonderfully with light, creamy sides like vanilla bean yogurt or a simple fruit salad. These contrasting textures and flavors provide a balanced and satisfying dessert experience, especially during warmer months.
Creative Ways to Present
Serve your Cherry Hand Pies Recipe on rustic wooden boards or charming vintage plates for that homey feel. For parties, consider stacking them in tiers or arranging them around bowls of extra cherry filling for a fun, interactive dessert station.
Make Ahead and Storage
Storing Leftovers
Once cooled completely, store your leftover cherry hand pies in an airtight container at room temperature for up to two days or in the refrigerator for up to four days to maintain freshness and flaky crust.
Freezing
You can freeze baked hand pies by wrapping each individually in plastic wrap and placing them in a freezer-safe container or bag. They keep well for up to two months, making them a perfect make-ahead treat.
Reheating
To reheat, unwrap and place hand pies on a baking sheet. Warm them in a 350°F oven for 10 to 12 minutes, just until heated through and the crust is crisp again. Avoid microwaving if possible, as it can soften the crust.
FAQs
Can I use fresh cherries instead of pie filling?
Absolutely! If using fresh cherries, make sure to pit and cook them down with sugar and a thickener like cornstarch to mimic the consistency of pie filling, preventing soggy crusts.
What size cutter should I use for the hand pies?
A cutter around 4 inches works perfectly to create snack-sized hand pies. You can opt for squares or circles depending on your preference for a rustic or classic pie shape.
Can I make these vegan?
Yes! Use a plant-based pie crust and substitute the egg wash with a mixture of non-dairy milk and a touch of maple syrup or melted coconut oil to achieve a golden finish.
How do I prevent the filling from leaking?
Careful sealing by pressing the edges thoroughly with a fork and not overfilling will help. Making small steam vents keeps the filling from bursting the crust while baking.
Is the almond extract necessary?
It is optional but highly recommended as it accentuates the cherry flavor beautifully, giving that bakery-quality taste without any extra effort.
Final Thoughts
Making these Cherry Hand Pies Recipe is truly a joyful experience from start to finish. Each bite brings a burst of sweet cherry goodness wrapped in buttery, flaky crust that feels so comforting and homemade. Whether you’re baking for yourself, family, or friends, these hand pies are sure to bring smiles and create lasting memories. So go ahead, whip up a batch and treat everyone around you to a little pie magic that’s both charming and delicious.
Print
Cherry Hand Pies Recipe
- Prep Time: 15 minutes
- Cook Time: 25 minutes
- Total Time: 40 minutes
- Yield: 8–10 hand pies
- Category: Dessert
- Method: Baking
- Cuisine: American
- Diet: Vegetarian
Description
Delight in these irresistible Cherry Hand Pies, featuring flaky pie crusts filled with sweet cherry pie filling and baked to golden perfection. Perfect as a portable dessert or snack, these hand pies can be easily customized with almond extract and topped with a powdered sugar glaze for an added touch of sweetness.
Ingredients
Crust
- 1 package refrigerated pie crusts (2 crusts)
Filling
- 1 ½ cups cherry pie filling
- Optional: ½ teaspoon almond extract
Egg Wash and Topping
- 1 egg (beaten, for egg wash)
- 1 tablespoon water
- 2 tablespoons granulated sugar (for topping)
Optional Glaze
- ½ cup powdered sugar
- 1–2 teaspoons milk
Instructions
- Preheat Oven: Preheat your oven to 375°F and line a baking sheet with parchment paper to prevent sticking and ensure easy cleanup.
- Prepare Dough: Roll out the pie crusts on a lightly floured surface. Use a round cutter about 4 inches in diameter or cut into squares to create 8 to 10 evenly sized pieces.
- Fill Pies: Spoon 1 to 2 tablespoons of cherry pie filling onto the center of half of the dough pieces. Avoid overfilling to prevent leaks during baking. If desired, mix almond extract into the filling before spooning.
- Seal Pies: Place a second piece of dough on top of each filled piece. Press the edges together firmly with a fork to seal them securely. Cut small slits on the top crust to allow steam to escape during baking.
- Apply Egg Wash and Sugar: Whisk the beaten egg with water to create an egg wash. Brush the egg wash over each hand pie, then sprinkle lightly with granulated sugar for a sweet, glossy finish.
- Bake: Bake the hand pies in the preheated oven for 20 to 25 minutes, or until they are golden brown and the filling is bubbly. Remove from the oven and let them cool slightly.
- Add Glaze (Optional): To make the glaze, mix the powdered sugar with 1 to 2 teaspoons of milk until smooth. Drizzle over the cooled hand pies for a sweet finishing touch.
Notes
- You can use either homemade or store-bought cherry pie filling depending on your preference.
- Adding a touch of almond extract to the cherry filling gives a delightful bakery-style flavor.
- These hand pies are freezer-friendly once baked and cooled, making them perfect for preparing ahead of time.
- Make sure not to overfill the pies to avoid leaks and keep edges sealed properly for best results.


