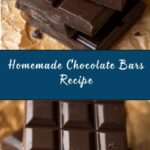
If you’ve ever dreamed of crafting your own sweet, velvety treat right in your kitchen, then you’re going to love this Homemade Chocolate Bars Recipe. This delightful recipe brings together simple, wholesome ingredients to create rich, melt-in-your-mouth chocolate bars that feel so much more special than anything store-bought. With a perfect balance of creamy cocoa butter, intense cocoa powder, and just the right touch of sweetness, these bars become an irresistible snack or gift that will put a smile on anyone’s face.
Ingredients You’ll Need
Gathering your ingredients is the first joyous step toward homemade chocolate bliss. Each component plays an essential role, whether it’s building the silky texture, deepening the chocolate flavor, or adding the perfect hint of sweetness and aroma that makes these bars unforgettable.
- Cocoa butter: This rich fat provides the creamy texture and shiny finish essential to authentic chocolate bars.
- Unsweetened cocoa powder: Offers the deep, complex chocolate flavor; use cacao powder for a raw chocolate twist.
- Powdered sugar or maple syrup: Adds gentle sweetness—powdered sugar keeps bars crisp, while maple syrup creates a softer, more natural touch.
- Vanilla extract: Enhances and balances the chocolate’s bitterness with a warm, comforting aroma.
- Pinch of salt: Elevates the flavors by cutting through the sweetness and highlighting the cocoa’s richness.
- Optional add-ins: Chopped nuts, dried fruit, shredded coconut, or a sprinkle of sea salt allow you to customize texture and flavor.
How to Make Homemade Chocolate Bars Recipe
Step 1: Melt the Cocoa Butter
Begin by gently melting your cocoa butter in a double boiler or a heatproof bowl set over simmering water. Stir continuously until it becomes smooth and transparent. This careful melting ensures your chocolate bars will have that luxurious texture without burning or separating.
Step 2: Combine the Ingredients
Once your cocoa butter is perfectly melted, take it off the heat and whisk in the cocoa powder, powdered sugar or maple syrup, vanilla extract, and a pinch of salt. Whisk until everything blends into a glossy, smooth chocolate mixture—this step guarantees a velvety consistency and even flavor throughout.
Step 3: Prepare the Molds
Pour the luscious chocolate mixture into silicone chocolate bar molds or a parchment-lined dish. Silicone molds make it easy to pop the bars out later, but a baking dish works just as well if you want to slice the bars after they firm up.
Step 4: Add Your Favorite Mix-Ins
Sprinkle your desired add-ins such as nuts, dried fruit, or shredded coconut over the surface of the chocolate. Press them gently into the mixture so they adhere well and add delightful bursts of flavor and texture.
Step 5: Chill Until Set
Place the molds or dish in the refrigerator for one to two hours. This chilling time is crucial for the chocolate to solidify properly, making it easy to handle and perfectly firm for snacking.
Step 6: Unmold and Enjoy
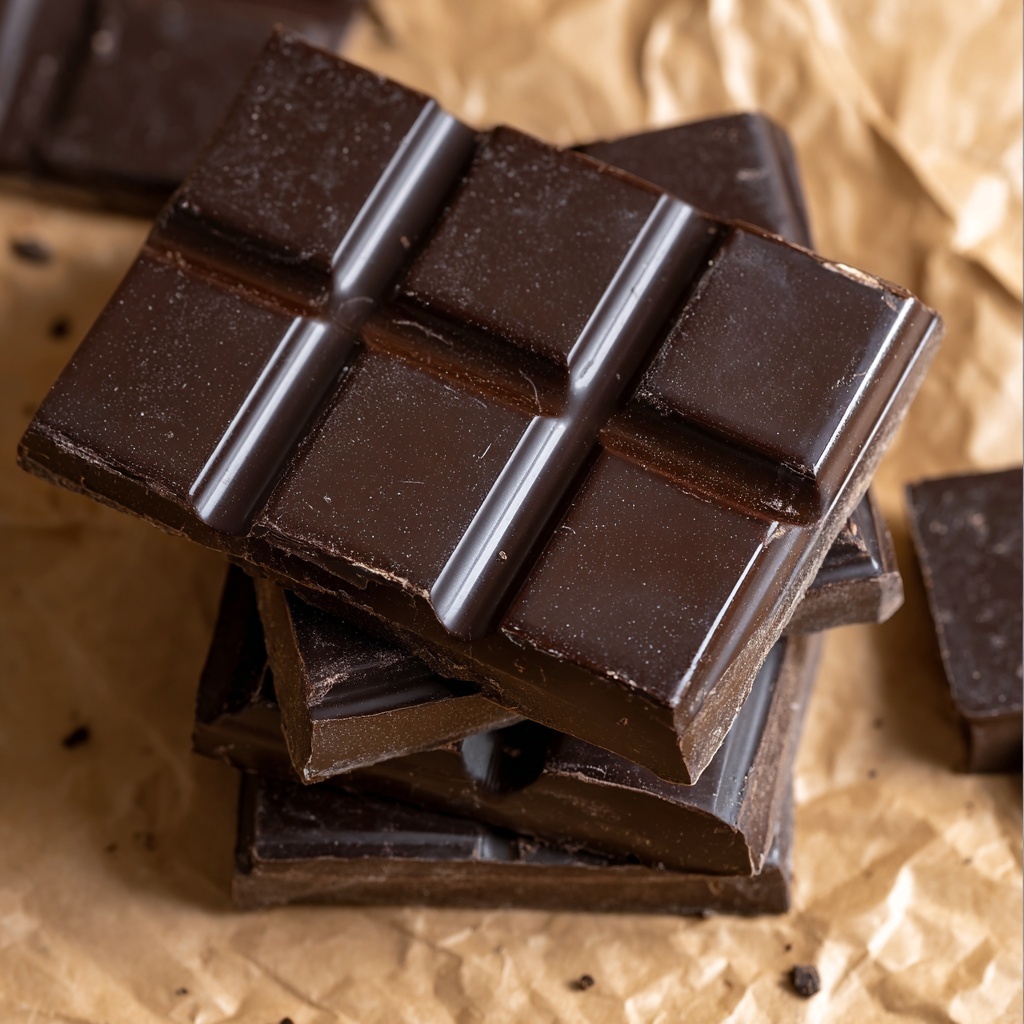
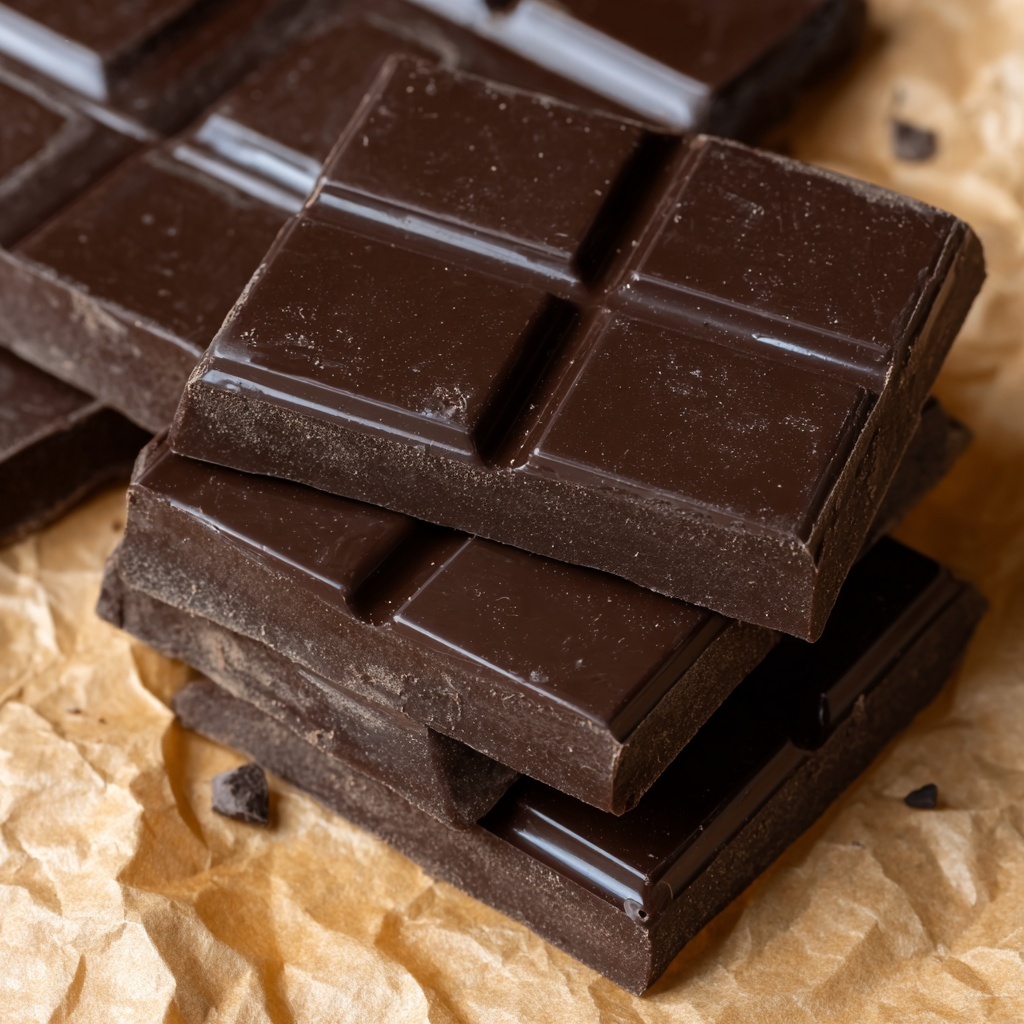
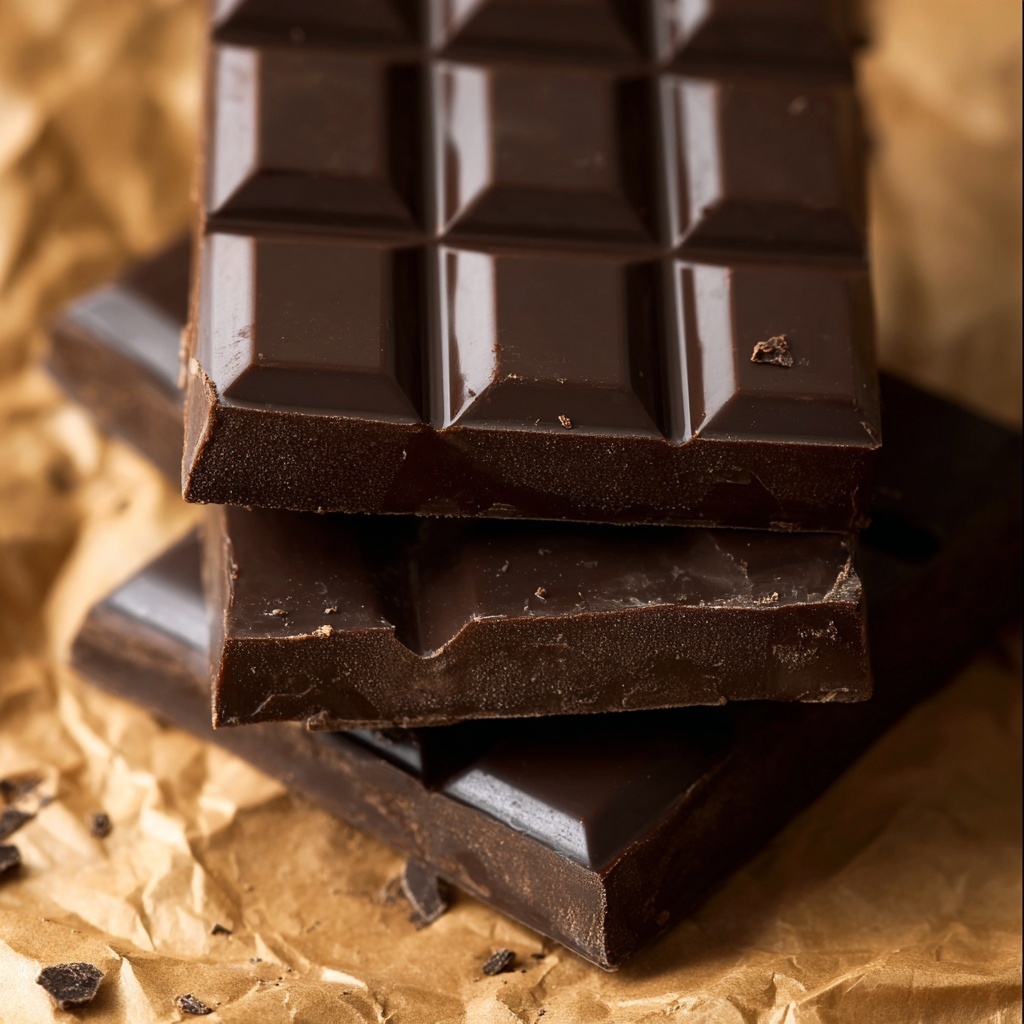
After the chocolate has set firmly, carefully pop your bars out of the molds or slice them into beautiful bars if you used a baking dish. The satisfaction of seeing those glossy homemade bars ready to enjoy is truly unbeatable.
Step 7: Store Properly
Store your homemade chocolate bars in an airtight container either at room temperature for a softer bite or in the refrigerator if you prefer a firmer texture. This way, your bars will stay fresh and delicious for days.
How to Serve Homemade Chocolate Bars Recipe
Garnishes
Enhance your chocolate bars by adding a sprinkle of flaky sea salt or drizzling melted white chocolate on top before chilling. Fresh herbs like mint or edible flowers can make a striking presentation for guests or gifts.
Side Dishes
Pair these bars with a scoop of vanilla ice cream or alongside fresh berries for a dessert that feels indulgent yet balanced. They also make a delightful complement to a hot cup of coffee, tea, or even a glass of red wine.
Creative Ways to Present
Wrap individual bars in parchment paper tied with twine for charming homemade gifts. Alternatively, break the bars into chunks and sprinkle them atop yogurt, oatmeal, or salads for a surprising pop of rich chocolate.
Make Ahead and Storage
Storing Leftovers
Keep your leftover chocolate bars fresh by storing them in an airtight container. They do best at cool room temperature but can easily be refrigerated if your environment is warm or humid to avoid melting.
Freezing
You can freeze homemade chocolate bars for up to three months. Wrap them tightly in plastic wrap and place them in a freezer bag to protect against freezer burn. Thaw in the fridge before enjoying to preserve texture.
Reheating
There’s no need to reheat these bars, but if you prefer a softer bite, let them sit at room temperature for 10–15 minutes before serving. Avoid microwaving as it can cause chocolate to seize or lose its smooth texture.
FAQs
Can I use dairy milk instead of cocoa butter?
Traditional chocolate bars rely on cocoa butter for that signature texture, so using dairy milk would change the consistency and might not set properly. Cocoa butter is best for this recipe’s creamy, crisp finish.
What if I want a sweeter chocolate bar?
You can adjust the sweetness by increasing the powdered sugar or maple syrup slightly, but be careful not to add too much as it could affect the texture and cause your bars not to set well.
How do I make vegan or raw chocolate bars?
Using raw cacao powder and natural sweeteners like maple syrup makes this recipe perfect for a vegan or raw chocolate treat. Just ensure your add-ins align with your dietary preferences for a fully compliant bar.
Can I substitute the add-ins?
The fun of this Homemade Chocolate Bars Recipe is how customizable it is! Feel free to experiment with your favorite nuts, seeds, dried fruits, or even edible spices to find your perfect combination.
How long will the homemade chocolate bars keep?
Stored properly in an airtight container, your chocolate bars will stay fresh for up to two weeks at room temperature, and even longer if refrigerated or frozen.
Final Thoughts
There’s truly nothing like the joy of making and savoring your very own chocolate bars. This Homemade Chocolate Bars Recipe is an invitation to slow down, enjoy simple ingredients, and create something wonderfully delicious from scratch. Whether you share them as a gift or keep them as a little personal indulgence, these bars are sure to bring warmth and sweetness to any day. So gather your ingredients and let your chocolate-making adventure begin!
Print
Homemade Chocolate Bars Recipe
- Prep Time: 10 minutes
- Cook Time: 10 minutes
- Total Time: 1 hour 10 minutes
- Yield: 10 servings
- Category: Dessert
- Method: No-Cook
- Cuisine: International
- Diet: Vegetarian
Description
These homemade chocolate bars are a simple and customizable treat made from natural ingredients like cocoa butter and cocoa powder. Melted and mixed with a touch of sweetness and vanilla, they can be enhanced with optional add-ins such as nuts or dried fruits, then chilled to set into delicious, smooth bars. Perfect for a diy artisan chocolate experience without any complex equipment or preservatives.
Ingredients
Chocolate Base
- 1 cup cocoa butter, chopped
- 3/4 cup unsweetened cocoa powder (or cacao powder for raw chocolate)
- 1/4 cup powdered sugar or maple syrup (for sweetness)
- 1/2 teaspoon vanilla extract
- Pinch of salt
Optional Add-ins
- Chopped nuts
- Dried fruit
- Shredded coconut
- Sea salt
Instructions
- Melt Cocoa Butter: In a double boiler or heatproof bowl set over a saucepan of simmering water, gently melt the chopped cocoa butter, stirring frequently until it becomes completely smooth and liquid.
- Combine Ingredients: Remove the melted cocoa butter from heat. Whisk in the unsweetened cocoa powder, powdered sugar or maple syrup, vanilla extract, and a pinch of salt. Continue whisking until the mixture is fully combined and has a smooth, even texture.
- Pour Mixture into Molds: Transfer the chocolate mixture into silicone chocolate bar molds or a baking dish lined with parchment paper, spreading it evenly.
- Add Optional Toppings: Sprinkle any desired add-ins such as chopped nuts, dried fruit, shredded coconut, or sea salt over the surface. Gently press them into the chocolate to help them adhere.
- Chill to Set: Place the molds or baking dish in the refrigerator for 1 to 2 hours, allowing the chocolate bars to fully set and harden.
- Unmold or Slice: Once completely set, carefully pop the chocolate bars out of the molds, or if using a baking dish, slice the chocolate into bars with a sharp knife.
- Store Properly: Store the finished chocolate bars in an airtight container at room temperature for a softer texture or in the refrigerator if you prefer them firmer.
Notes
- For a vegan option, use maple syrup instead of powdered sugar for sweetness.
- Ensure cocoa butter is fully melted to avoid lumps in the chocolate.
- Add-ins can be customized to your taste; try dried cherries, almonds, or even chili flakes for a twist.
- Use silicone molds to make unmolding easier, but parchment-lined dishes also work well.
- Store chocolates away from heat and moisture to maintain their texture and flavor.

