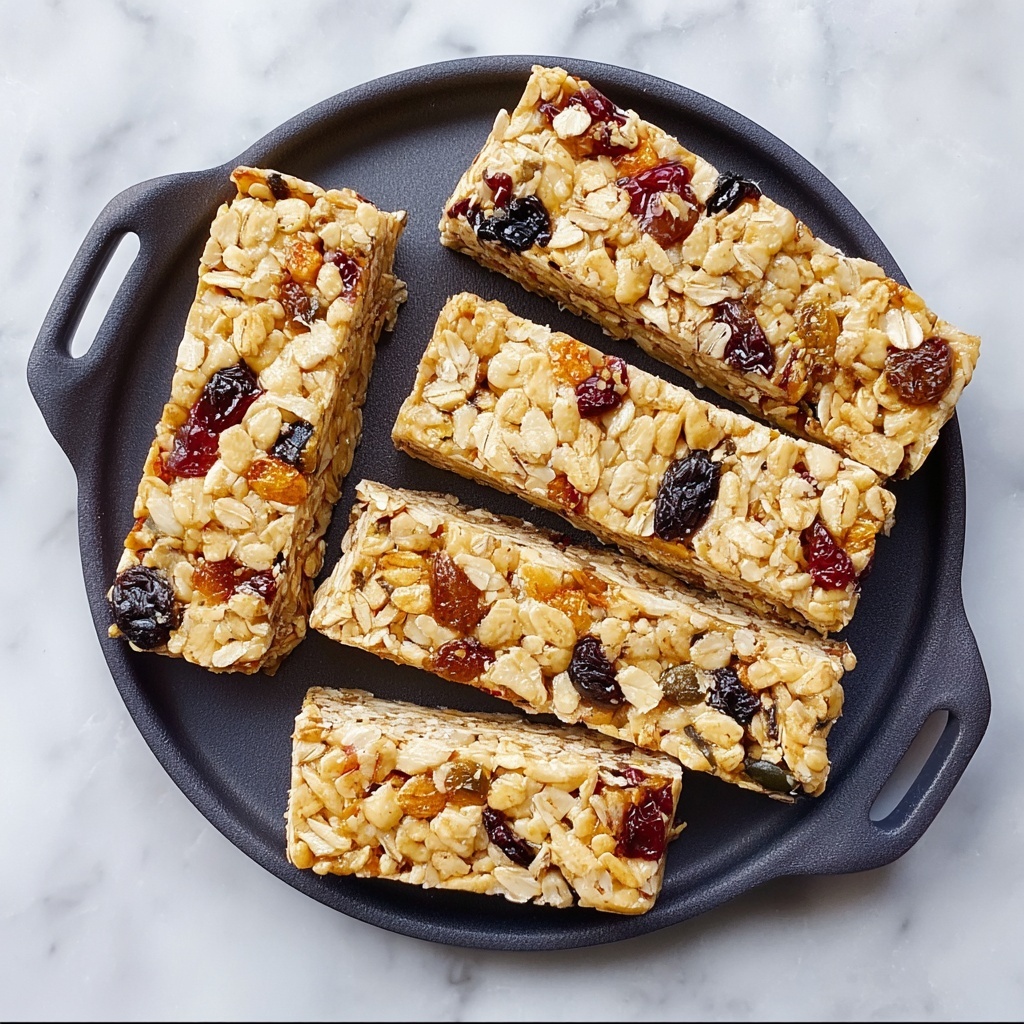
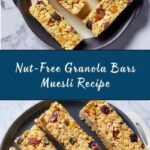
If you are on the lookout for a wholesome, delicious snack that everyone can enjoy regardless of nut allergies, this Nut-Free Granola Bars (Nut-Free Muesli Bars) Recipe is an absolute gem. Packed with wholesome rolled oats, crunchy seeds, and sweet dried fruit, these bars bring together a perfect balance of texture, flavor, and natural energy that will make you want to reach for one again and again. They are easy to make, customizable, and rehearse the beauty of simple ingredients transformed into something truly satisfying and nutritious.

Ingredients You’ll Need
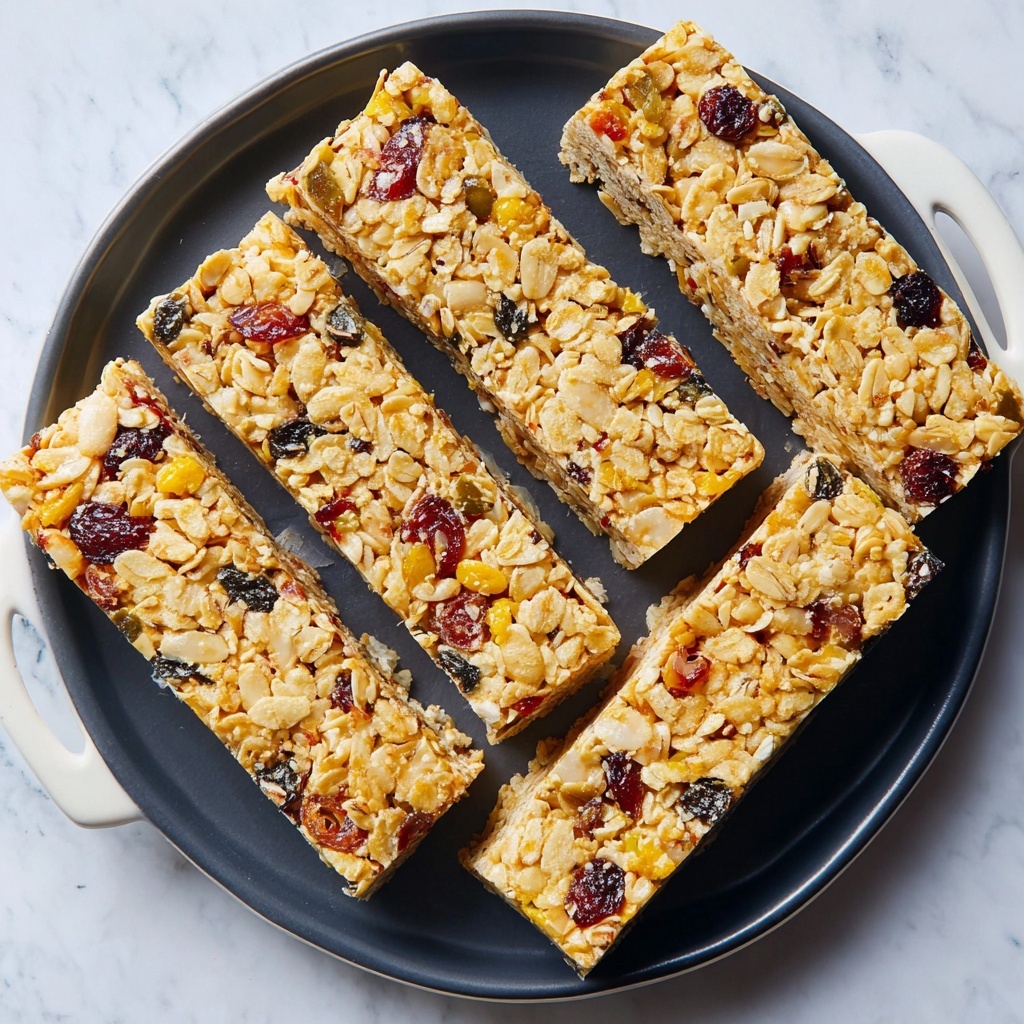
The magic of this Nut-Free Granola Bars (Nut-Free Muesli Bars) Recipe lies in its straightforward ingredients, each carefully chosen to provide a lovely mix of crunch, chewiness, and sweetness. These essentials combine naturally and offer a delightful texture and flavor without relying on nuts, making them perfect for sensitive eaters.
- Rolled oats: The hearty base that gives structure and a satisfying chew to the bars.
- Sunflower seeds: Adds a gentle crunch and mild nuttiness without actually using nuts.
- Pumpkin seeds (pepitas): For extra texture and a subtle earthy flavor.
- Raisins or sultanas: Natural sweetness and soft bursts of flavor throughout.
- Chopped dried apricots: Bright color and fruity tang to complement the other ingredients.
- Unsalted butter: Helps bind everything together while adding richness.
- Superfine sugar (caster sugar): Sweetens smoothly, blending well into the syrup.
- Clear honey: Acts as a natural sweetener and sticky binder for the bar mixture.
- Fine salt (optional): Just a pinch balances flavors and enhances sweetness.
How to Make Nut-Free Granola Bars (Nut-Free Muesli Bars) Recipe
Step 1: Preheat and Prepare Your Pan
Start by setting your oven to 350°F (180°C). Line a 9×13 inch (23×33 cm) baking pan with parchment paper or give it a generous greasing with foil. This prep ensures your granola bars come out in perfect squares without sticking, making the whole baking and serving experience smoother.
Step 2: Process Half the Oats
Place half of the rolled oats in a food processor and pulse until they reach the fine texture of instant oats or porridge oats. This step adds variation in texture, so the bars aren’t too dense or chewy throughout. Mix these finely chopped oats with the remaining whole rolled oats in a large bowl.
Step 3: Chop Seeds and Dried Fruit
Next, add the sunflower seeds, pumpkin seeds, raisins, and chopped apricots into the food processor. Pulse just enough to coarsely chop the seeds and get the fruit pieces roughly the size of half a raisin—small but not turned into dust. Toss these into the oat mixture and stir well, ensuring an even distribution of crunchy and chewy bits.
Step 4: Make the Syrup
In a saucepan over medium heat, melt unsalted butter with superfine sugar, clear honey, salt (if using), and two tablespoons of water. Stir gently so the sugar dissolves completely and the butter blends smoothly. You want a syrupy, glossy consistency to coat the dry ingredients thoroughly.
Step 5: Combine Syrup and Dry Ingredients
Pour the hot syrup straight into the oat and seed mixture. This part takes some patience—mix energetically to work the syrup into every bit of the granola. Initially, it may seem sticky or dry, but keep folding it until the mixture holds together without any dry patches. This thorough mixing is key to the perfect bar texture later on.
Step 6: Press and Bake
Evenly spread the sticky mixture into the prepared pan. Press down firmly using the base of a glass or a spatula; don’t skip this step because compacting helps the bars hold their shape and cut neatly after baking. Bake for about 25 minutes until the top is a lovely golden color and the aroma fills your kitchen.
Step 7: Cool and Cut
Allow the pan to cool completely before attempting to lift out the granola slab. For sharp, clean cuts, refrigerate the cooled bars for an hour or two. Use a sharp serrated knife to slice the bars into the sizes you prefer, and prepare to enjoy!
Step 8: Store Properly
Store your Nut-Free Granola Bars (Nut-Free Muesli Bars) in an airtight container at room temperature for a few days. You can also freeze them for up to two months, enabling a ready supply of homemade energy bars anytime you need a tasty pick-me-up.
How to Serve Nut-Free Granola Bars (Nut-Free Muesli Bars) Recipe
Garnishes
Elevate your granola bars by sprinkling a pinch of toasted coconut flakes or a drizzle of dark chocolate on top after baking. Fresh fruit or a dollop of yogurt on the side adds freshness and creaminess to balance the chewiness of the bars.
Side Dishes
Pair these bars with a warm cup of tea or coffee for a delightful snack break. They also work beautifully alongside fresh fruit salad or cottage cheese for a more substantial, nutrient-packed snack or light breakfast.
Creative Ways to Present
For a fun twist, wrap individual granola bars in parchment paper tied with twine and pack them for lunchboxes or picnics. You can also cut them into bite-sized squares for party platters or add a swirl of melted sunflower seed butter on top for an extra indulgent treat.
Make Ahead and Storage
Storing Leftovers
Keep any leftover granola bars in an airtight container at room temperature for up to three days. This helps retain their crispness without them becoming too soft or sticky, perfect for snacks on the go.
Freezing
If you want to make a big batch and save some for later, simply freeze the bars in a sealed container or wrapped individually. They last up to two months frozen and thaw quickly at room temperature or in the fridge.
Reheating
While these bars are delicious eaten cold or at room temperature, warming them slightly in a microwave or oven revives their buttery aroma and softens the texture just a touch, making each bite even more comforting.
FAQs
Can I substitute honey with maple syrup in this recipe?
Absolutely! Maple syrup works as a great substitute for honey and adds a subtle maple flavor while still providing the sticky sweetness required to bind the ingredients.
Are these granola bars gluten-free?
If you use certified gluten-free rolled oats, then yes, these bars can be gluten-free. Be sure to check each ingredient if you’re cooking for someone with gluten sensitivities.
What if I don’t have pumpkin seeds?
You can replace pumpkin seeds with extra sunflower seeds or add other seeds like flaxseeds or chia seeds, but keep the quantity the same to maintain the right texture.
Can I use brown sugar instead of superfine sugar?
Brown sugar can be used, but it will add moisture and a deeper caramel flavor, which may slightly change the texture and taste of the bars.
How long will these granola bars keep their crunch?
Stored properly in an airtight container, these bars will stay crunchy and fresh for about 3 to 5 days at room temperature. Refrigerating or freezing can extend shelf life but may soften crunch slightly upon thawing.
Final Thoughts
I genuinely hope you enjoy making and eating this Nut-Free Granola Bars (Nut-Free Muesli Bars) Recipe as much as I do. They’re a simple, comforting snack that brings wholesome ingredients together in a way that’s easy, fun, and so rewarding. Perfect for anyone avoiding nuts but craving a satisfying treat, these bars are sure to become a beloved staple in your kitchen. Give them a go and share the joy with your friends and family!
Print
Nut-Free Granola Bars (Nut-Free Muesli Bars) Recipe
- Prep Time: 15 minutes
- Cook Time: 25 minutes
- Total Time: 45 minutes
- Yield: 24 bars
- Category: Snack
- Method: Baking
- Cuisine: American
- Diet: Nut Free
Description
These Nut Free Granola Bars are a delicious and wholesome snack made without any nuts, perfect for those with nut allergies. Packed with oats, sunflower and pumpkin seeds, dried fruits, and bound together with a buttery honey syrup, they offer a crunchy and naturally sweet treat. Baked to golden perfection, these bars are easy to prepare in under an hour and serve as a great on-the-go energy boost or a teatime snack.
Ingredients
Dry Ingredients
- 5 cups rolled oats
- 1/3 cup sunflower seeds
- 1/2 cup pumpkin seeds (pepitas)
- 1/2 cup raisins or sultanas
- 1/2 cup chopped dried apricots
Wet Ingredients
- 1 stick unsalted butter (approximately 113g)
- 1 cup superfine sugar (caster sugar)
- 1/3 cup clear honey
- 1/4 tsp fine salt (optional)
- 2 tablespoons water
Instructions
- Preheat Oven: Preheat your oven to 350°F (180°C). Line a 9×13 inch (23×33 cm) baking pan with parchment paper or well-greased foil and set aside.
- Chop Oats: Place half the oats into a food processor and pulse until finely chopped, resembling instant or porridge oats. Transfer these to a large mixing bowl along with the remaining whole rolled oats.
- Chop Seeds and Fruits: In the food processor bowl, add sunflower seeds, pumpkin seeds, raisins, and chopped apricots. Pulse until the seeds are coarsely chopped and fruit pieces are roughly half the size of a raisin, ensuring they are mixed evenly. Add this to the oats in the mixing bowl and blend well.
- Prepare Syrup: In a saucepan over medium heat, combine butter, superfine sugar, honey, salt, and 2 tablespoons of water. Stir occasionally to prevent sticking and to help butter melt smoothly. Remove from heat once sugar is fully dissolved and the mixture becomes a smooth syrup.
- Mix Wet and Dry Ingredients: Immediately pour the hot syrup over the dry oat and seed mixture. Stir thoroughly, ensuring that all dry bits are coated. It may take time and patience to fully combine.
- Press into Pan: Evenly spread the mixture into the prepared pan. Use the base of a glass to compress the mixture firmly for clean-cut bars after baking.
- Bake: Bake in the preheated oven for about 25 minutes or until the top is lightly golden all over.
- Cool and Slice: Remove from the oven and allow the bars to cool completely in the pan. For the cleanest cuts, refrigerate the cooled bars for 1-2 hours, then lift out using the parchment and slice with a sharp serrated knife into 24 bars.
- Storage: Store your granola bars in an airtight container at room temperature for a few days or freeze for up to 2 months.
Notes
- Using a food processor to chop oats, seeds, and fruits ensures an even texture throughout.
- Compressing the mixture firmly in the pan is essential for bars that hold their shape and cut cleanly.
- If you prefer a sweeter bar, you can increase honey slightly, but keep the wet to dry ratio balanced.
- Feel free to swap raisins for other dried fruits like cranberries or cherries.
- Store bars in the refrigerator if you prefer a firmer texture or for longer freshness.