
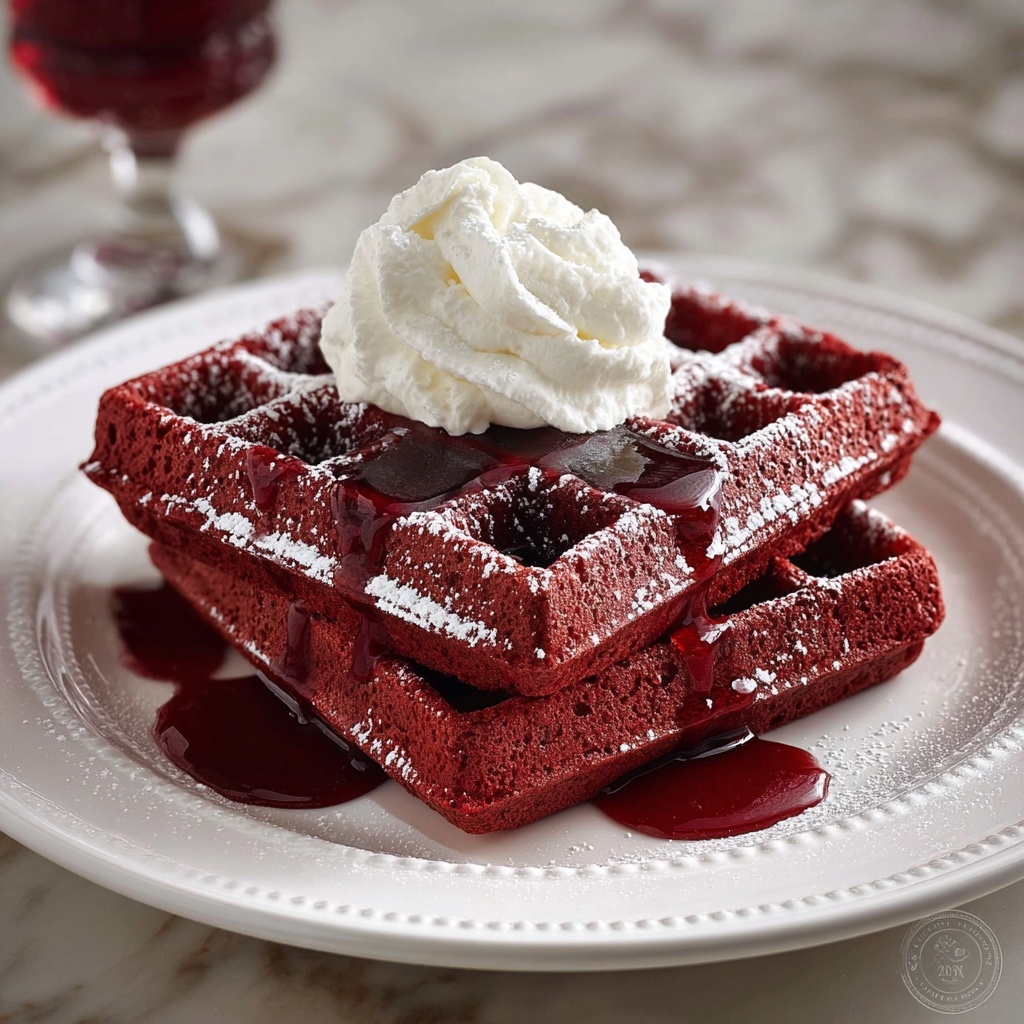
If you’re searching for a truly unforgettable breakfast or brunch treat, look no further than this Red Velvet Waffles with Cream Cheese Frosting Recipe. These waffles combine the rich, velvety texture and beautiful red hue of classic red velvet cake with the crisp exterior and fluffiness only waffles can deliver. Topped with luscious cream cheese frosting, every bite bursts with a perfect balance of sweet, tangy, and decadent flavors. Whether you’re craving something special for a holiday morning or just want to impress friends with a colorful twist, this recipe is an absolute game-changer you’ll want to make again and again.
Ingredients You’ll Need
Gathering a few simple ingredients is all that stands between you and the most delightful Red Velvet Waffles with Cream Cheese Frosting Recipe you’ve ever had. Each one plays a crucial role—flour provides the structure, cocoa powder adds depth without overwhelming, and red food coloring gives that signature vibrant color that makes these waffles so eye-catching.
- All-Purpose Flour: The base ingredient that creates light, tender waffles with just the right chew.
- Cocoa Powder: Adds a subtle chocolate undertone that complements the other flavors beautifully.
- Baking Powder: Ensures your waffles rise perfectly, creating that irresistible fluffy texture.
- Granulated Sugar: Sweetens the batter just enough without overpowering the distinct red velvet taste.
- Buttermilk: Brings moisture and slight tanginess, enhancing tenderness and flavor complexity.
- Eggs: Bind the ingredients and add richness for a satisfying mouthfeel.
- Red Food Coloring: The magic behind the stunning, classic red velvet color that makes these waffles pop.
- Vanilla Extract: Infuses warmth and depth, rounding out the flavors perfectly.
- Cream Cheese Frosting: The essential finishing touch that adds smooth, tangy sweetness on top.
How to Make Red Velvet Waffles with Cream Cheese Frosting Recipe
Step 1: Mix the Dry Ingredients
Start by whisking together all-purpose flour, cocoa powder, baking powder, and granulated sugar in a large bowl until everything is blended seamlessly. This step distributes your leavening agent and chocolate flavor evenly to ensure perfectly textured waffles.
Step 2: Combine the Wet Ingredients
In a separate bowl, mix the buttermilk, eggs, red food coloring, and vanilla extract until smooth. This vibrant mixture is where the magic happens—you’re marrying the tangy and rich components that make red velvet so special.
Step 3: Bring It All Together
Pour the wet ingredients into the dry, then gently stir until just combined. Avoid overmixing here; a few small lumps are okay and will keep your waffles light and airy.
Step 4: Heat and Prepare Your Waffle Iron
Preheat your waffle iron according to the manufacturer’s instructions and lightly grease it to prevent sticking. A hot, well-greased surface is key to achieving that crisp exterior everyone loves.
Step 5: Cook the Waffles
Pour enough batter onto the iron to cover about three-quarters of its surface. Close the lid and cook until steam stops escaping, typically around four to five minutes. This signals your waffles are perfectly cooked—crispy on the outside with that tender, fluffy inside.
Step 6: Serve with Cream Cheese Frosting
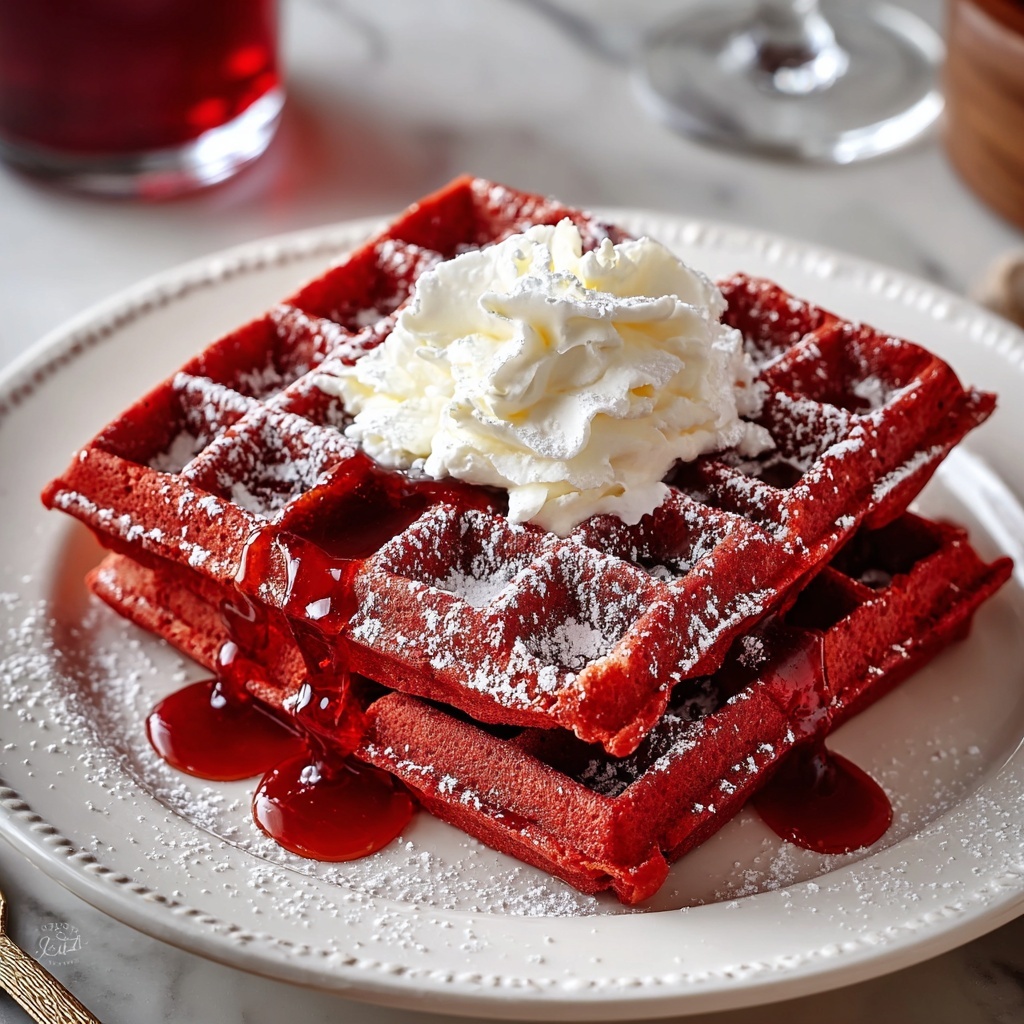
Carefully remove the waffle from the iron and immediately top it with a generous dollop of cream cheese frosting. The warmth of the waffles softens the frosting slightly, creating a luscious topping that melts in your mouth.
How to Serve Red Velvet Waffles with Cream Cheese Frosting Recipe
Garnishes
Topping these waffles with fresh strawberries is a classic choice because their juicy sweetness and slight tartness contrast beautifully with the richness of the waffles and frosting. You can also sprinkle some shaved white chocolate or a dusting of powdered sugar to add an elegant touch and extra flair.
Side Dishes
Since these Red Velvet Waffles with Cream Cheese Frosting Recipe are quite indulgent, pairing them with lighter sides can create a balanced meal. Consider fresh fruit salad, crisp bacon, or even a simple green salad with a citrus vinaigrette to cleanse your palate.
Creative Ways to Present
Impress your guests by stacking the waffles high for a show-stopping red velvet tower, layering cream cheese frosting between each waffle. You could also serve mini waffle bites with frosting for a fun brunch buffet or drizzle warm chocolate sauce over individual portions for an extra special occasion.
Make Ahead and Storage
Storing Leftovers
If you have any leftover waffles, let them cool completely before storing them in an airtight container. They will keep well at room temperature for a day, but refrigeration is recommended if you want them fresh for up to three days.
Freezing
These waffles freeze exceptionally well. Place cooled waffles in a single layer on a baking sheet to freeze individually, then transfer to a freezer-safe bag. They can be stored for up to one month and make for a quick breakfast option anytime.
Reheating
To reheat, pop the waffles back in a toaster or toaster oven to regain their crispness. Avoid microwaving if you want to keep that coveted crunchy texture. If frozen, let them thaw for a few minutes beforehand for best results.
FAQs
Can I make this recipe dairy-free?
Absolutely! Substitute buttermilk with a mixture of almond milk and a splash of lemon juice, and use a dairy-free cream cheese frosting to keep the flavors intact while accommodating dietary needs.
What if I don’t have red food coloring?
You can try using natural alternatives like beet juice or powder for color, but keep in mind the vibrancy may be less intense. The taste should remain just as delicious though.
Can I prepare the batter ahead of time?
It’s best to make the batter fresh for optimal fluffiness, but you can mix the dry ingredients in advance. Combine with wet ingredients right before cooking to keep your waffles light and airy.
Is cream cheese frosting necessary?
While it’s the hallmark of a true Red Velvet Waffles with Cream Cheese Frosting Recipe and adds wonderful flavor contrast, you could also try whipped cream or mascarpone as alternatives if you prefer something lighter.
How crispy will my waffles be?
The waffles come out crispy on the outside and tender inside when cooked properly. Make sure your waffle iron is hot and well-greased, and avoid opening the lid too early, so they have time to develop a golden crust.
Final Thoughts
There’s nothing quite like a plate of Red Velvet Waffles with Cream Cheese Frosting Recipe to brighten your morning and satisfy your sweet tooth with style. This recipe is approachable, fun, and endlessly delightful—perfect for sharing with loved ones or treating yourself. I can’t wait for you to try it and make it your own staple weekend indulgence!
Print
Red Velvet Waffles with Cream Cheese Frosting Recipe
- Prep Time: 10 minutes
- Cook Time: 5 minutes per waffle batch, approximately 20 minutes for 4 servings
- Total Time: 30 minutes
- Yield: 4 servings
- Category: Breakfast
- Method: Frying
- Cuisine: American
Description
Delight in these vibrant Red Velvet Waffles, a perfect twist on classic waffles. Featuring a rich cocoa flavor tinted with red food coloring and topped with creamy cream cheese frosting and fresh strawberries, these waffles make an indulgent breakfast or brunch treat.
Ingredients
Dry Ingredients
- 1 cup All-Purpose Flour
- 2 tablespoons Cocoa Powder
- 1 teaspoon Baking Powder
- 2 tablespoons Granulated Sugar
Wet Ingredients
- 1 cup Buttermilk
- 2 large Eggs
- 2 teaspoons Red Food Coloring
- 1 teaspoon Vanilla Extract
Toppings
- Cream Cheese Frosting, as needed
- Fresh Strawberries, for garnish
Instructions
- Mix Dry Ingredients: In a large bowl, whisk together the all-purpose flour, cocoa powder, baking powder, and granulated sugar until fully combined and aerated.
- Combine Wet Ingredients: In a separate bowl, beat the buttermilk, eggs, red food coloring, and vanilla extract together until the mixture is smooth and consistent.
- Combine Wet and Dry Mixtures: Gradually pour the wet mixture into the dry ingredients, stirring gently until just combined with no large lumps remaining but avoiding overmixing.
- Preheat Waffle Iron: Heat your waffle iron according to manufacturer instructions, then lightly grease the surface to prevent sticking, using either non-stick spray or a small amount of oil.
- Cook Waffles: Pour batter onto the preheated waffle iron to cover about three-quarters of the surface area. Close the iron and cook until the steam stops escaping, approximately 4 to 5 minutes, indicating the waffle is cooked through and crisp on the outside.
- Serve: Carefully remove the cooked waffles and plate them. Generously drizzle or spread cream cheese frosting on top and garnish with fresh strawberries for a delicious finish.
Notes
- Do not overmix the batter; a few lumps are okay to keep waffles tender.
- Adjust the amount of red food coloring to your preferred intensity of color.
- If you don’t have buttermilk, you can substitute by mixing 1 cup milk with 1 tablespoon lemon juice or vinegar, let sit for 5 minutes.
- Ensure the waffle iron is well-heated before cooking to get crispy edges.
- Feel free to add chopped nuts or chocolate chips to the batter for extra texture and flavor.


